Registration in Microsoft Teams
The program Microsoft Teams is great for conference communication, business meetings, collaboration and distance learning. To get full access to its capabilities, the user needs to create an account. Unfortunately, this procedure is somewhat confusing, so many people have questions. In this article, we will try to explain as clearly as possible, how to register with Microsoft Teams.
Program Registration Guide
First, some background information. By default, the user creates a free account, and he is given three options to choose from:
- Personal (for home) – suitable for communicating with acquaintances, friends, family members, etc.
- For study (for education) – suitable for schoolchildren and students to communicate with teachers (teachers), attend online classes and etc
- For work (for work) – suitable for employees of various companies or organizations, for collaboration, organizing online meetings, communicating with colleagues and superiors.
 It’s very important to choose the right account type, but here are a few things:
- Anyone can create a personal “account”, but at the moment this option is available through a mobile application. This cannot be done through a computer or a website.
- To create a school account, you need to know the email address of the school that Microsoft Teams was connected to.
- When creating a work “account”, you must have a special invitation link with which you can make a profile for an employee of a particular organization. And for the authorities there is an opportunity to create their own organization and add employees there.
Now we will analyze each of the options in more detail.
Setting up a personal account
As we mentioned earlier, this feature is currently only available in the Microsoft Teams mobile app. If you try to create a personal account from a computer, you will be prompted to use Skype to communicate with friends and family members.
So the procedure itself must be performed through a mobile application. And here is the step by step guide:
- Install MS Teams on your phone. We discussed this procedure in in a separate article .
- In the welcome window, click on the “Sign up for free” button.

- Next, select “Personal” as the account type.
- Enter your mobile number in the appropriate field. Be sure to select the correct country code.
- Then click Next.
- Now set a login password and confirm your entry.
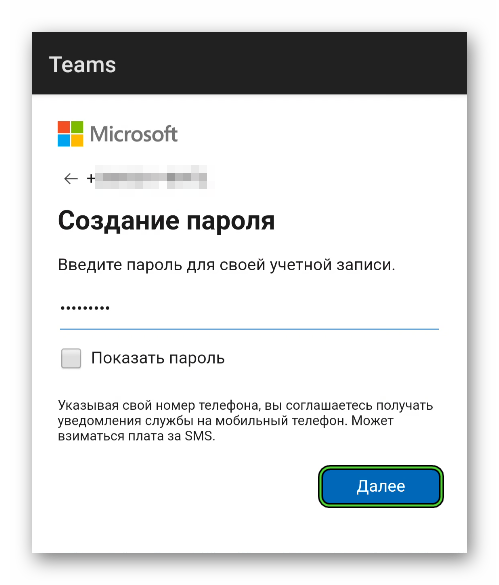
- On the next page, enter your first and last name and tap again on “Next”.
- Now enter your country of residence and date of birth.
It remains to enter the confirmation code that will come in SMS (four digits) and complete the procedure. Immediately after, you will enter MS Tims and will be able to communicate with your friends and relatives.
Setting up a student account
Your school or other educational institution must initially register itself in the system by specifying a specific email address. So you need to know it first of all – and this is the most non-obvious moment. The rest procedure is very simple.
You need to open this page in a browser on your computer, enter the required email address , your first name, last name and related information that the system will require. After that, you will be able to communicate through this program.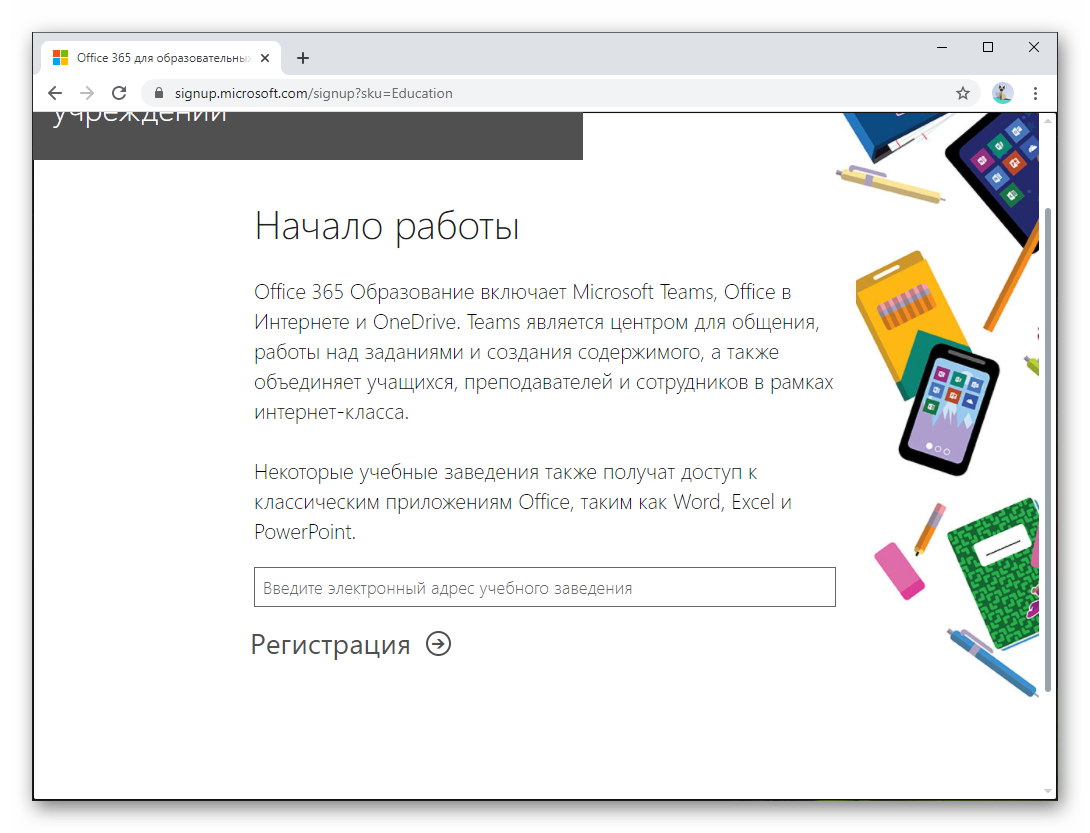
Setting up a working account
Well, lastly, let’s figure out how to register with MS Tims for work purposes. And there are two scenarios:
- The first one is for employees who have been sent a special invitation link. That is, this is a connection to an existing organization
- And the second one is for the authorities, who are just planning to connect their organization to the system.
Each of them is completely free. Let’s deal with both in turn.
Connect to an existing organization
You should have a link to register an employee account. It can be sent by a colleague or someone from the authorities. If you already have it, then do the following:
- Follow the link you received.
- On the new page, enter your name and email address.
- LMB on the “Join Team” button.
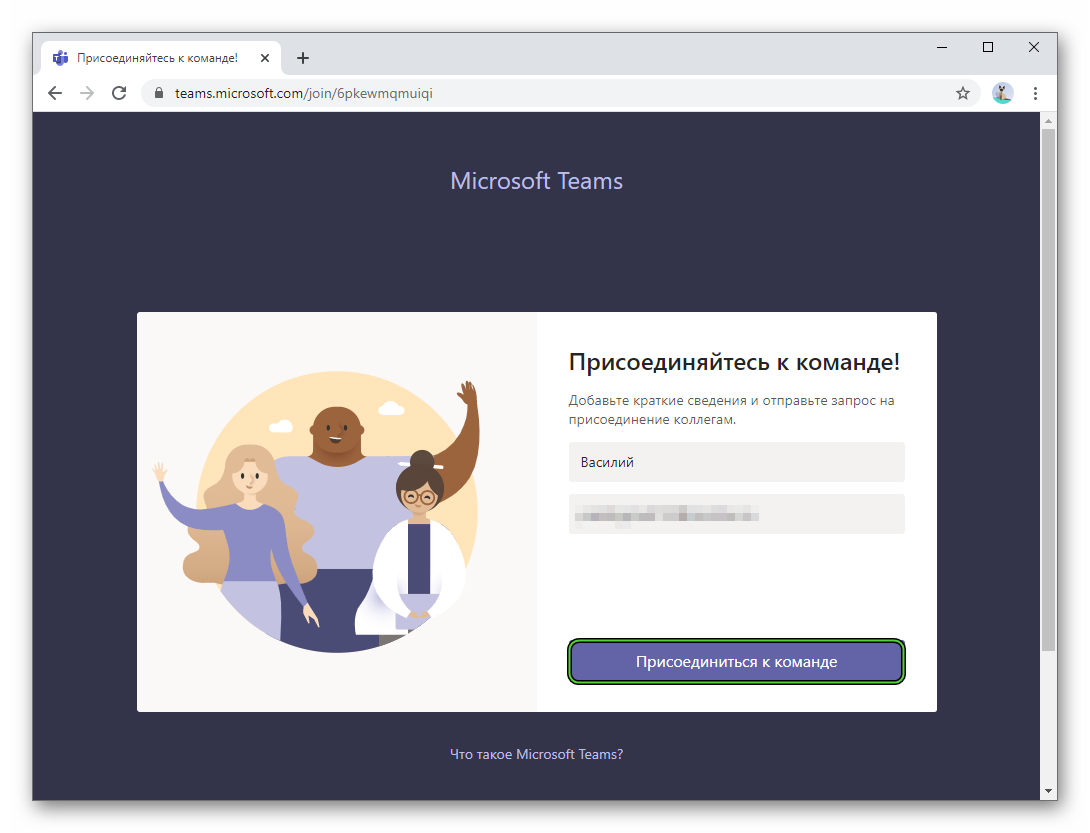
- Wait for your admin to confirm your join request. The request will come in a letter to his email inbox. And in the program itself.
- Now open your email that you entered in step 2. You will see an email from Microsoft Teams.
- In it, click the purple button.
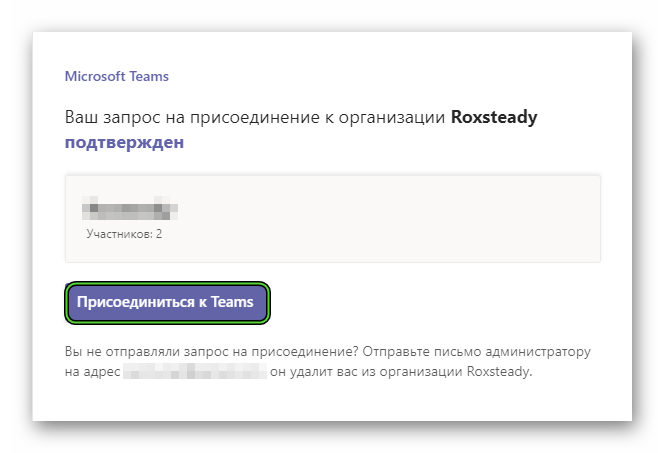
- On the new page, double-click the Next button.
- Set a password for the account and confirm it.
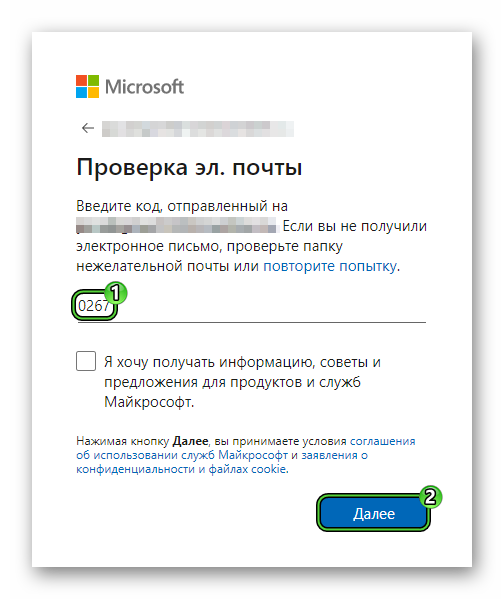
- Go back to the email address, you should receive an email with a code to continue.
- Enter the code in the appropriate field.
- Solve the captcha to continue. Typically you rotate the image and click Done.
- In the new window, click Yes and then Accept.
Now open the Microsoft Teams program and sign in with the username and password you provided earlier.
Creating a new organization with an account
Anyone can add their organization to MS Teams, and then invite other participants to it. As a rule, this applies to colleagues at work. But this requires Outlook mail.
Here is a step by step guide:
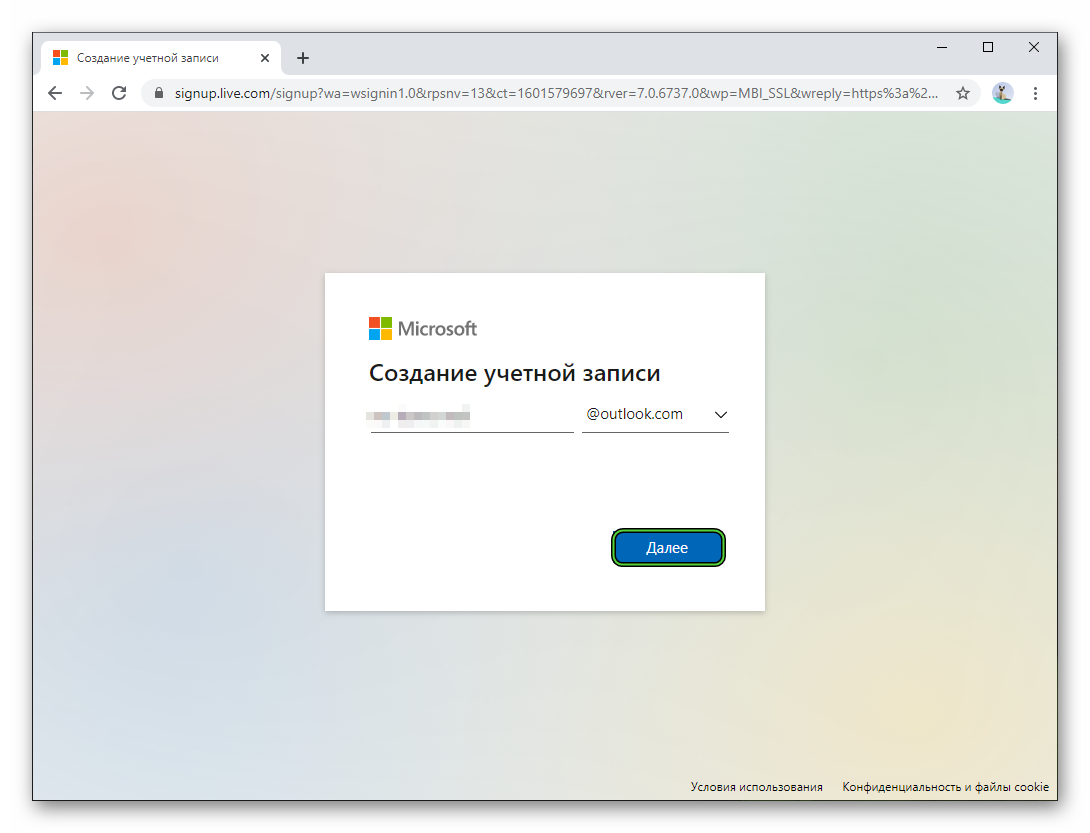
- Go to this page.
- Specify a login for future mail and click “Next”.
- Enter your login password on the next page.
- Then fill in the fields where your first and last name are required.
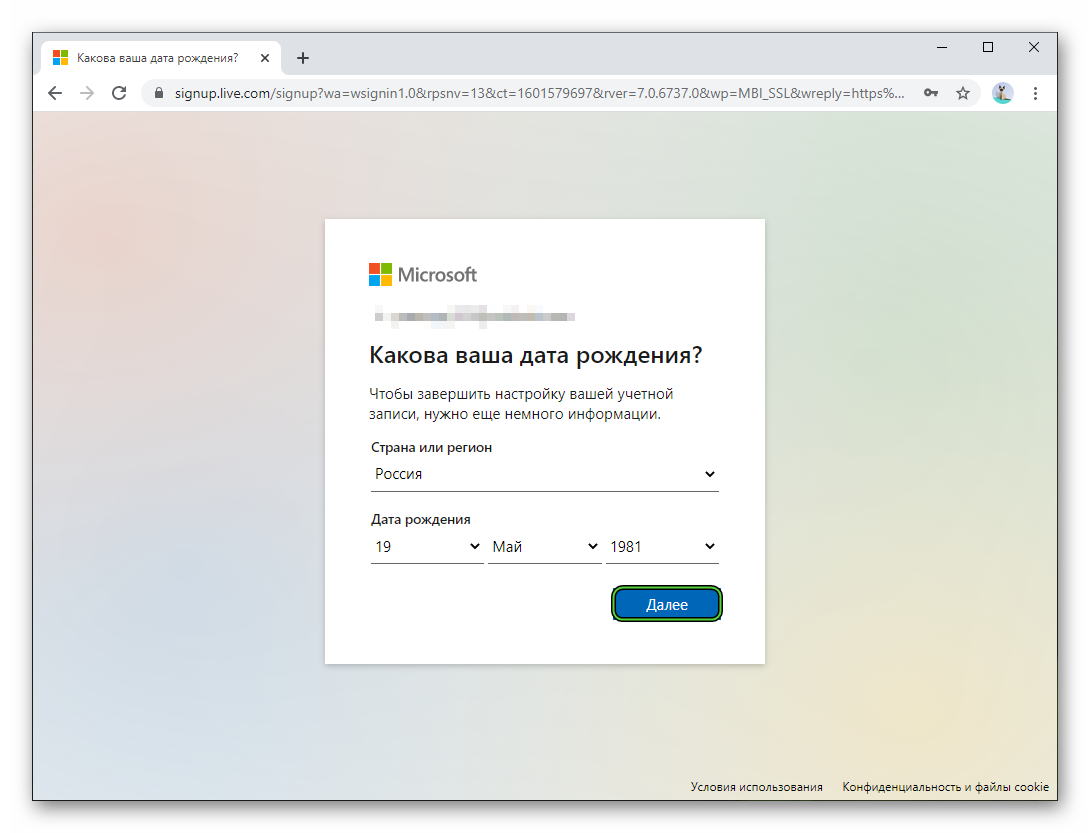
- Now enter your place of residenceand date of birth.
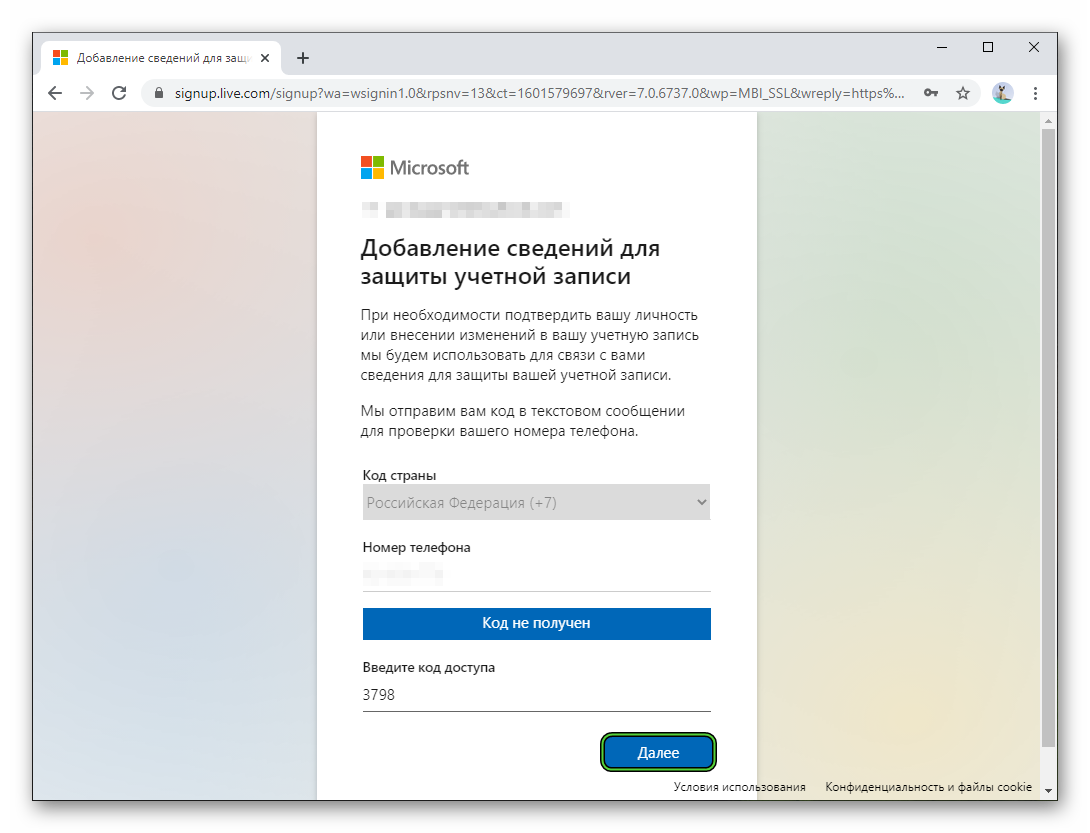
- Next, enter your mobile number and click Send Code.
- Wait for the OTP in SMS, enter it in the field below and click Next.
- Click the Yes button and complete the procedure.
- Close all unnecessary browser tabs and start the program Microsoft Teams.
- LMB on the “Free Sign Up” button below the login form.

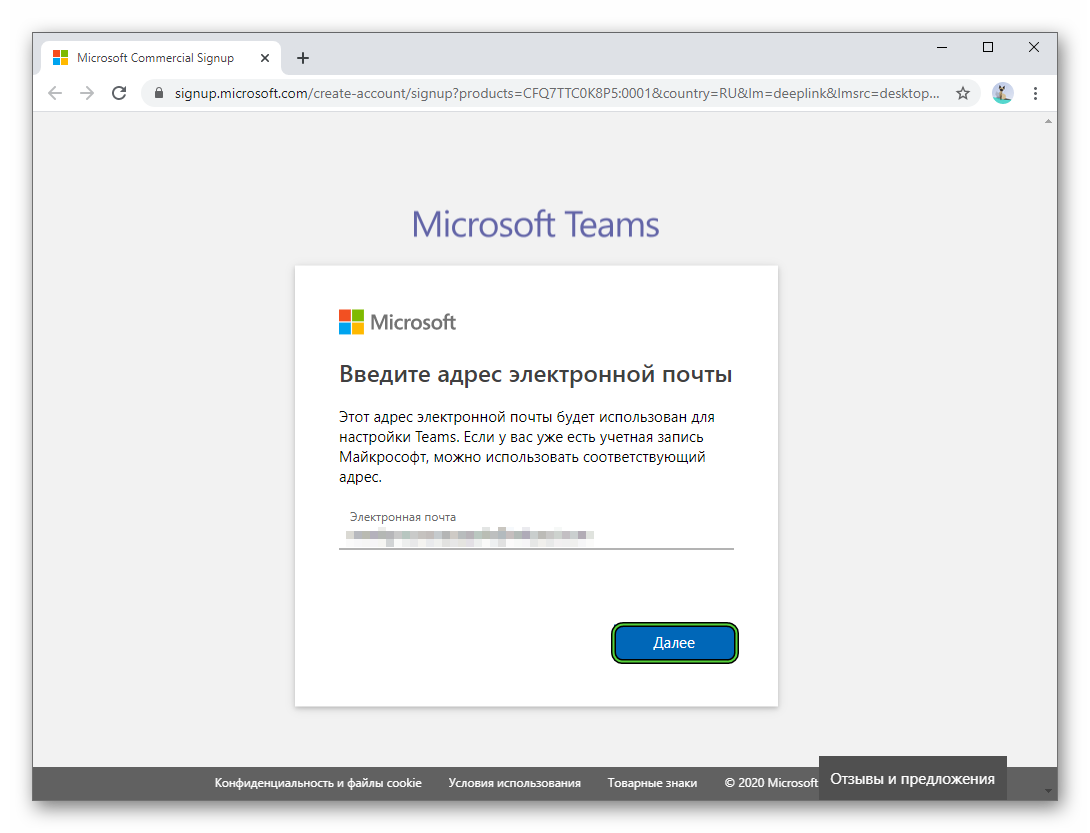
- A new browser tab will open. Enter the Outlook email address you recently created here.
- Now click Next.
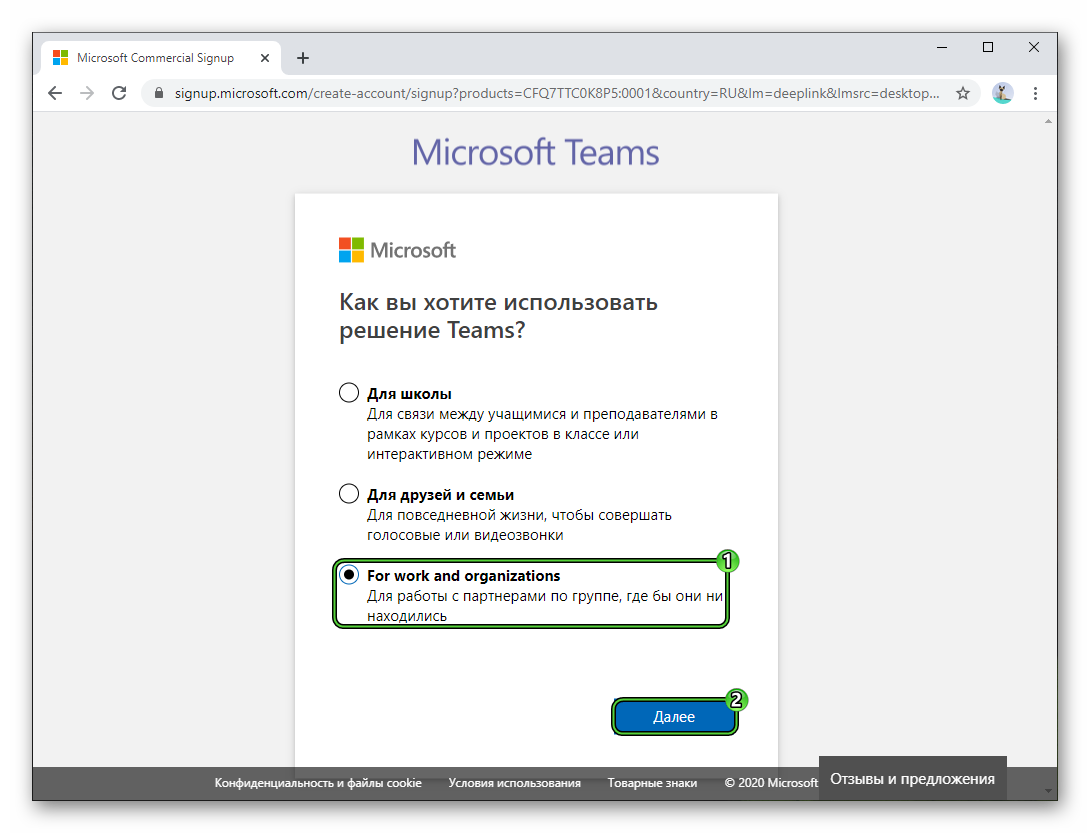
- Set the account type to For work and organizations.
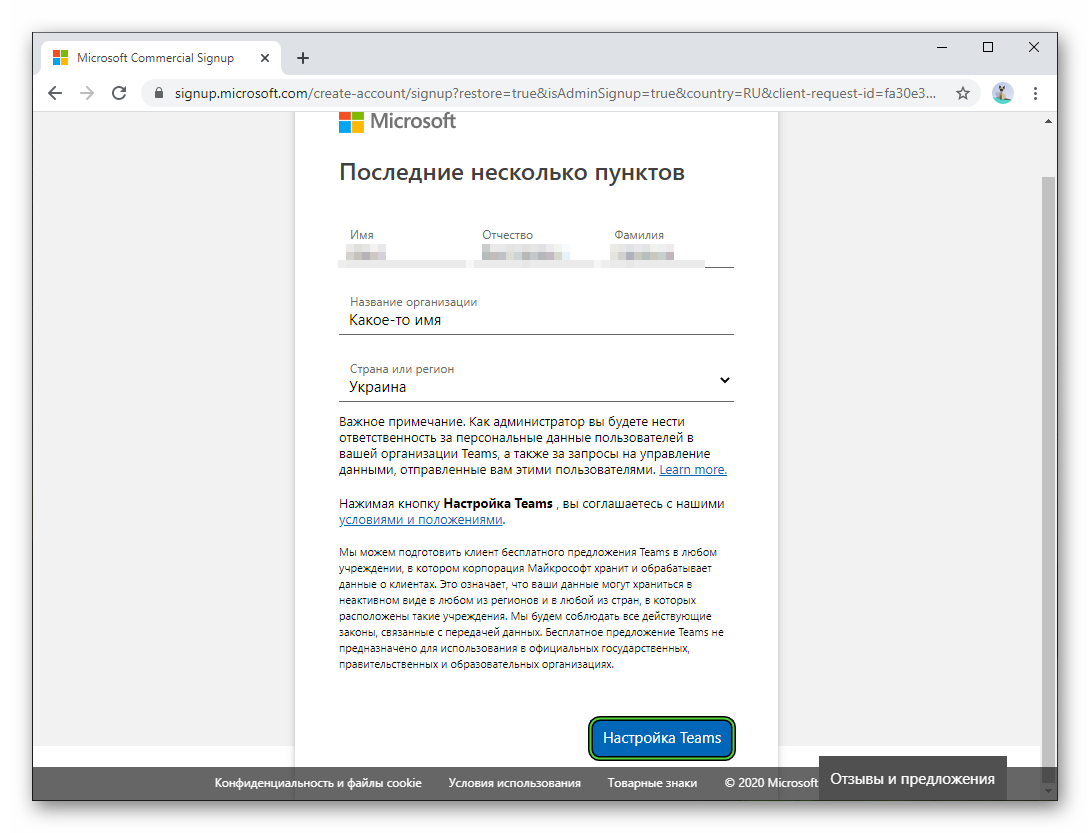
- Fill in the required information about yourself and the organization. Remember the time limit with Russia.
- Click on the button “Configure Teams”.
- Accept the offer to start Microsoft Teams.
- Wait for the program to load.
- Log in to your account using your Outlook email credentials.
- Select the correct organization and click Continue.
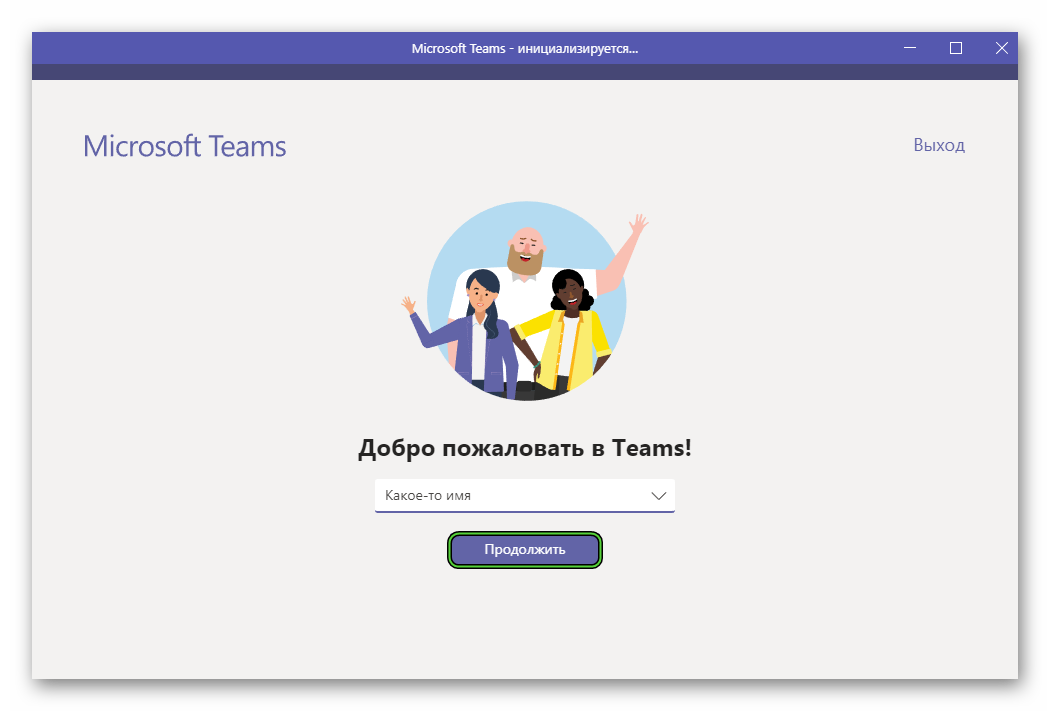
This completes the Microsoft Teams corporate account setup. You can invite colleagues to your organization using a special link. To get to it, do the following:
- Open Commands.
- Click on the “Invite Colleagues” button.
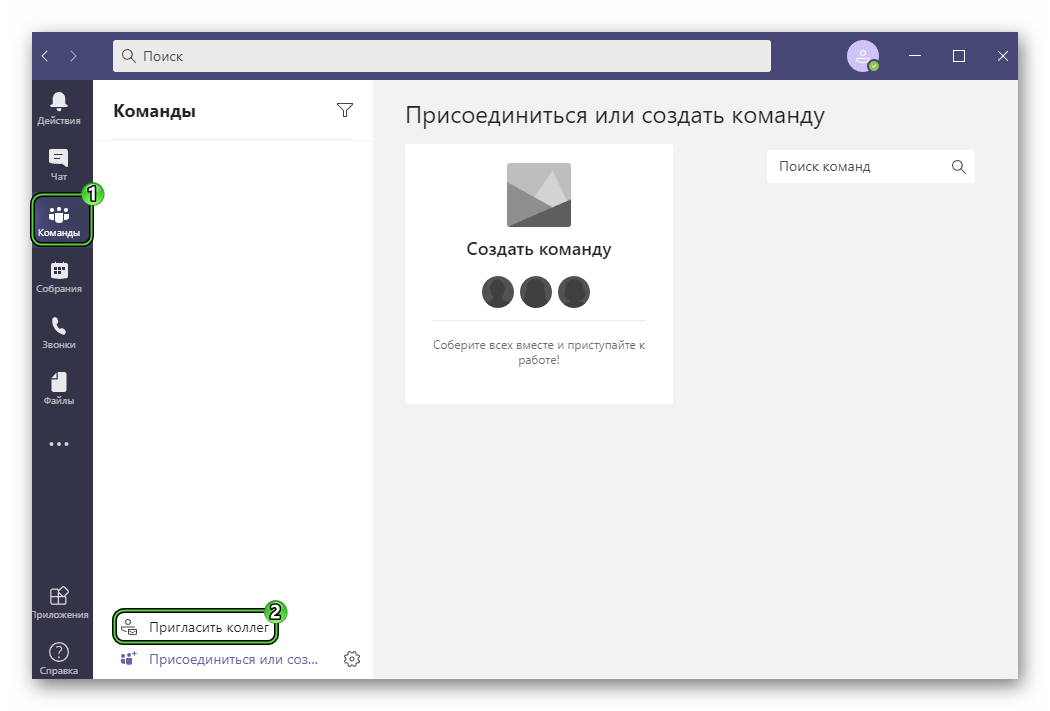
- Select “Invite by Mail”.
- Enter people’s email addresses in the fields and click Send Invitations.
The number of fields can be increased by clicking on the “Add more” button.
Summary
In this article, we tried to describe in as much detail as possible how to register with MS Tims. If you strictly follow the instructions described, you will not encounter any difficulties.


